

For those who take it seriously, woodworking is an art form that relies heavily on planning, techniques, and skill. Whether you are a professional tradesman creating functional pieces for a long list of loyal clients or you’re a homeowner looking to elevate your space with decorative items, all while becoming dedicated to a new woodworking hobby, understanding all areas of this field, be it the tools, processes and safety are key.
For now, let’s dive into the essential woodworking techniques, DIY projects to impress customers or get you started, and the different types of joins you’ll use along the way. It’s time to master the craft of your carpentry with Powered Now.
Common Woodworking Techniques
Sawing
An essential element of woodwork is using a saw. Be it a power saw for more precise cuts or a handsaw for greater control, understanding how to use them safely while implementing the right methods is a must. You will also need to educate yourself on what saw is right for certain materials and the type of cut you require. This is not a one-size-fits-all approach. Remember, when first starting out, you may struggle; however, practice makes perfect, and a steady hand will always be beneficial.
Planing
Planing is a process that allows carpenters to make wood smooth and to a thickness appropriate for the desired result. With the likes of both hand and electric planers, using this technique can transform the appearance of the wood you use. Depending on the project you are working on, your experience and the level of precision you need for your piece, will depend on the planer you use for the project.
Sanding
Everyone’s heard of sanding, right? This process is used in woodwork to finalise the surface of the wood you are using. You can use an electric sander or handheld sander to smooth out the wood, preparing it for the final stages of varnishing, painting and staining. Those who have been in the woodworking business for some time will know the best practices for achieving the best outcomes; however, for those new to this, you’ll be looking to perfect the art of your sanding techniques. To do so, you’ll start with coarse sandpaper, working your way up to finer grits. This broken-down process may seem to be a little timely; however, it offers a professional, polished finish.
Finishing
Now, you’re at the final step of the woodworking process- finishing. This is the part of the project that enhances your creation while protecting it, too. For this, you will choose to either stain, oil or varnish the wood, depending on the desired outcome. Each of these techniques offers varied aesthetics and provides different levels of protection for scuffs, scratches and wear and tear. Consider which one you use carefully, and ask for your client’s opinions, too!
Types Of Wood Joints
Butt Joint:
This name comes from the process of two pieces of wood being ‘butted’ together either by the ends or sides. This is the most common form of join in carpentry and can be done with glue, nails or screws.
Lap Joint:
Now, this one involves overlapping. While that may sound more difficult to do, this joint is fairly straightforward and offers a good amount of strength. You can use this joint for designs that don’t bear heavy loads on the joints themselves, and it is also suitable for framing.

Dovetail Joint:
It is often seen and used by carpenters when building cabinets, boxes and drawers. A dovetail joint is a collection of pin-shaped cuts that interlock with tails cut into another piece of wood – think of it like a puzzle. These are quite popular choices for decorative pieces as they are strong, resistant, yet quite aesthetic.
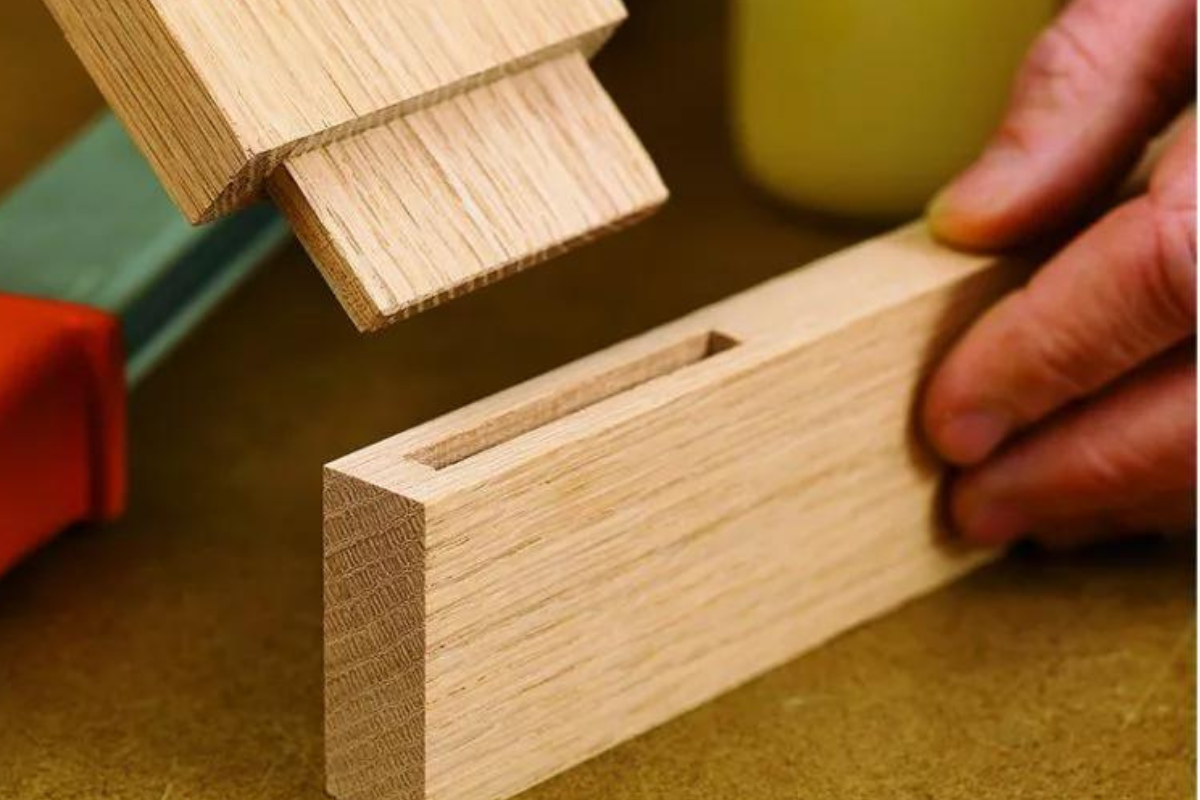
Photo by Wood Magazine
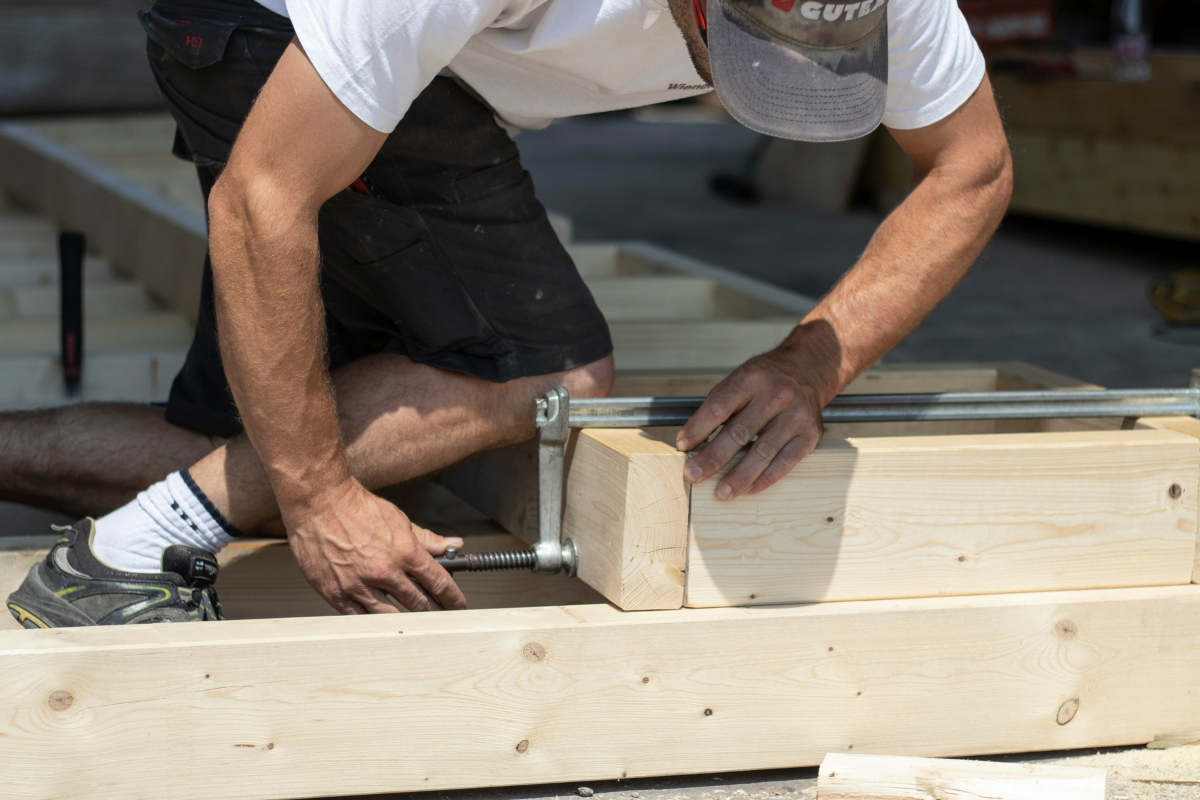
Mortise and Tenon Joint:
This is a classic, used and loved by many carpenters, both experienced and just starting out. Renowned for its durability and strength, these joints are used in larger woodworking projects as well as for doors and doorframes. This involves a square peg (tenon) fitting into a square hole (mortise).
Must Try DIY Projects For Beginners
- Simple and straightforward wooden boxes for storage and decoration, allowing you to use basic skills, techniques and finishes
- Floating shelves for books and ornaments and elevating your home decor need attention to detail for cutting, sanding, mounting and finishing.
- Coffee tables for the living room provide the chance to try mortise and tenon joints.
There’s no denying it: woodworking is a rewarding, fun and technical hobby/career that requires great attention to detail, patience and hard work. For everyone, when you first start your carpentry journey, never take on a challenging piece to begin with. You will need to build up your skills and techniques over time, all while continuously educating yourselves on the intricacies and safety. As your skills improve, so will your ability to take on larger, more complex projects – and before you know it, you’ll be creating wooden masterpieces for your home or others!
For those seasoned professionals looking to transform their carpentry business in 2024, check out Powered Now’s carpentry management business software.
And for more information, don’t hesitate to get in touch.